Are you a fine artist?
Is making digital copies of your fine art colour-accurate difficult or time-consuming?
Make Your Image Colours Accurate
Training #3
FREE with Subscription
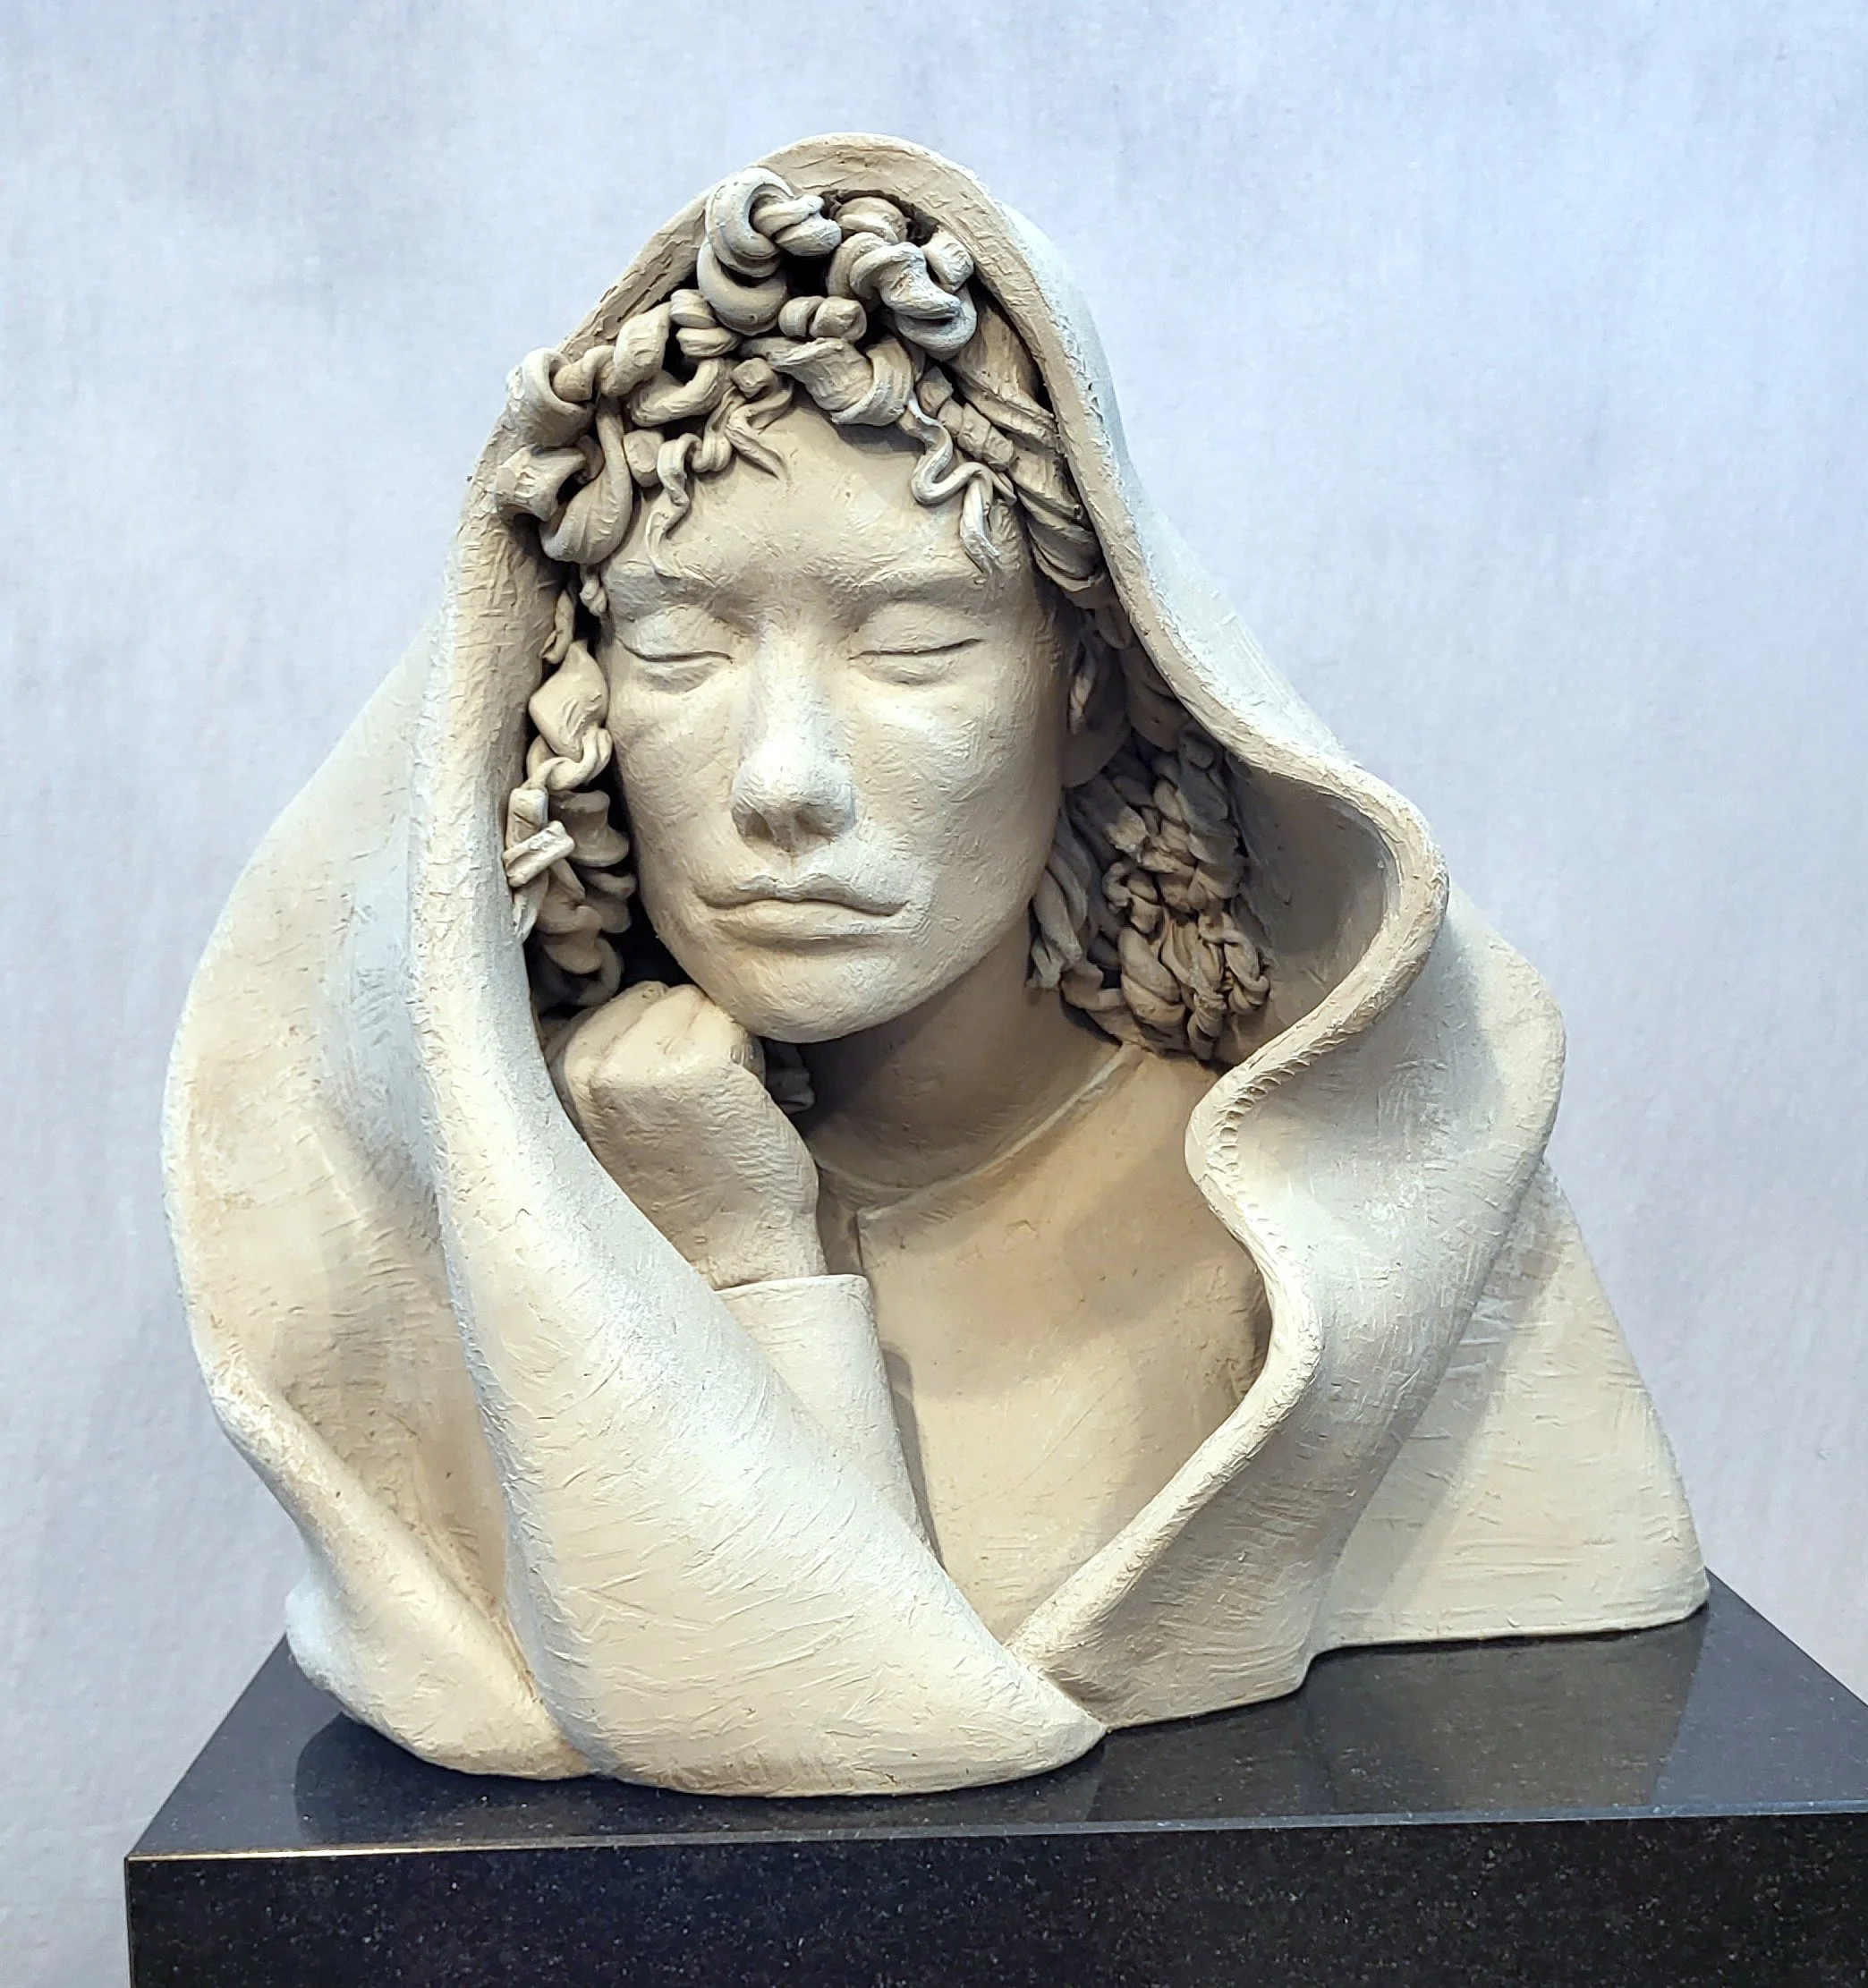
Thank you, Cara Lawson-Ball for allowing me to use your art for this lesson to demonstrate this works for 3D art, too, not just 2D situations.
This is the proven magic process I’ve used as a graphic designer and fine artist for over 30 years.
5 videos.
The walk-throughs are quick and to-the-point.
By the end, you will be in full control of the digital colours that represent your original art. Show your audience what they’ll receive so they can rejoice when it arrives.
Avoid breaking the hearts of your buyers by adding this SUPER quick and easy task to your preparation routine. Your confidence and peace of mind are worth it.
Did I mention this training is free?
-
I wanted to offer you something that is of actual value.
This process is not just valuable; it’s the most vital task I do when preparing to present my art.
I wanted it to solve a real problem for fellow artists.
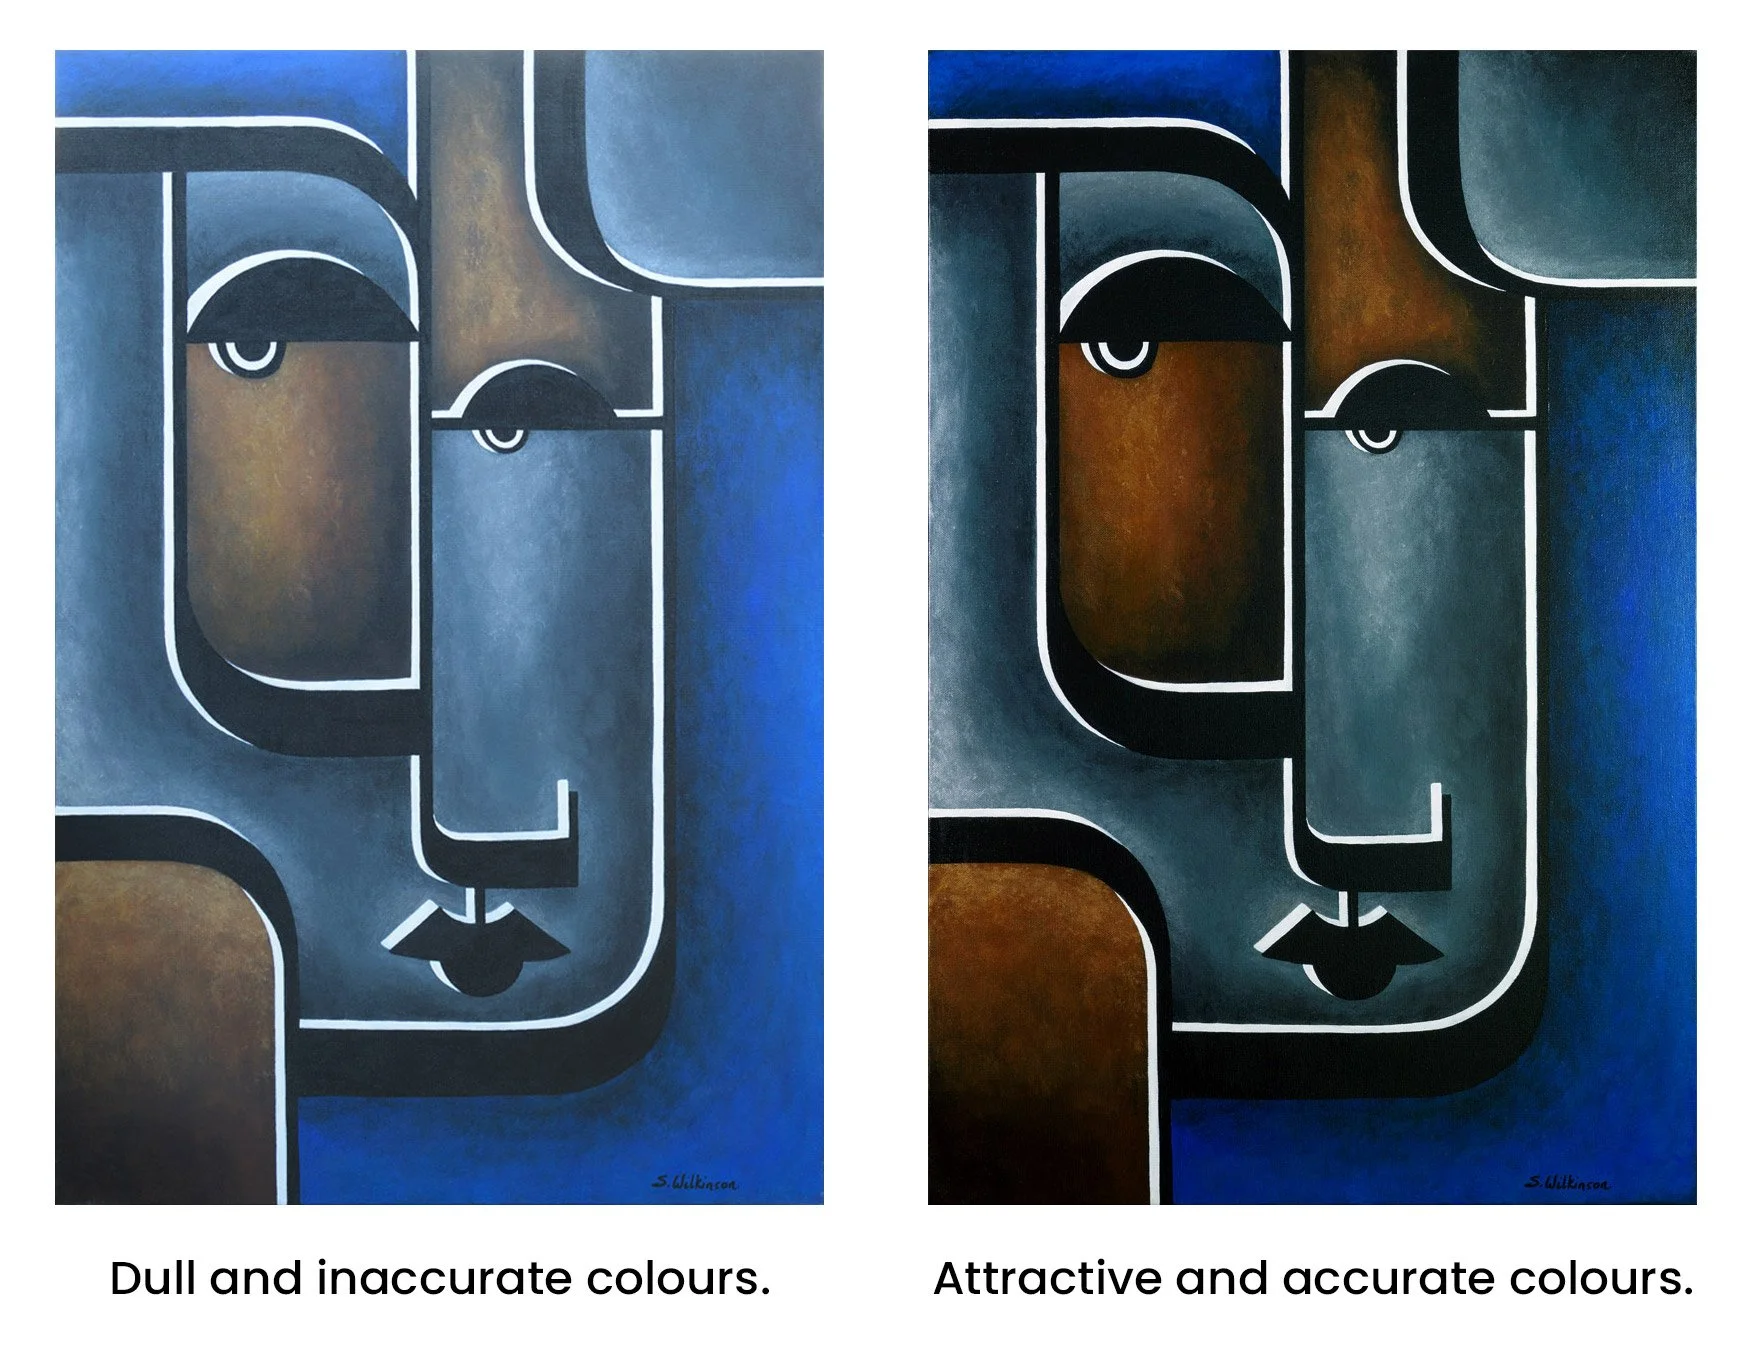
Too many artwork images are obviously inaccurate. It kills the joy of the art and it’s not necessary. This trick is ridiculously quick and easy!
Too many are doing too much or not enough to fix how their art looks to their audience.
Inaccurate colours can lead to heartbreak, returns, and negative reviews. Show them what they’ll get so that everyone will be thrilled when a purchase has been made.
2025 is the year I come out from under a rock.
I want this training to truly be valuable to fellow artists because the stuff we do surrounding the art itself is freakishly hard! I’m here to make as much of it as possible easier so together we can get more art into the world and make it a better place.
Let’s face it…The colours alone can make a person decide to scroll on past or stop to look… and maybe buy, award, or share your art.
Let’s make sure your buyers see the true colours so they can be thrilled when it arrives and avoid breaking their hearts.
Ridiculously Simple, Quick, and Easy
If you can slide a toggle or enter a number into a box, you can do this.If you do run into trouble, no worries! I’m here to answer your call for support any time.
There’s a comment area at the bottom of every page, AND you have access to Artists Hub Community, our private group, off of Facebook.
What’s Included?
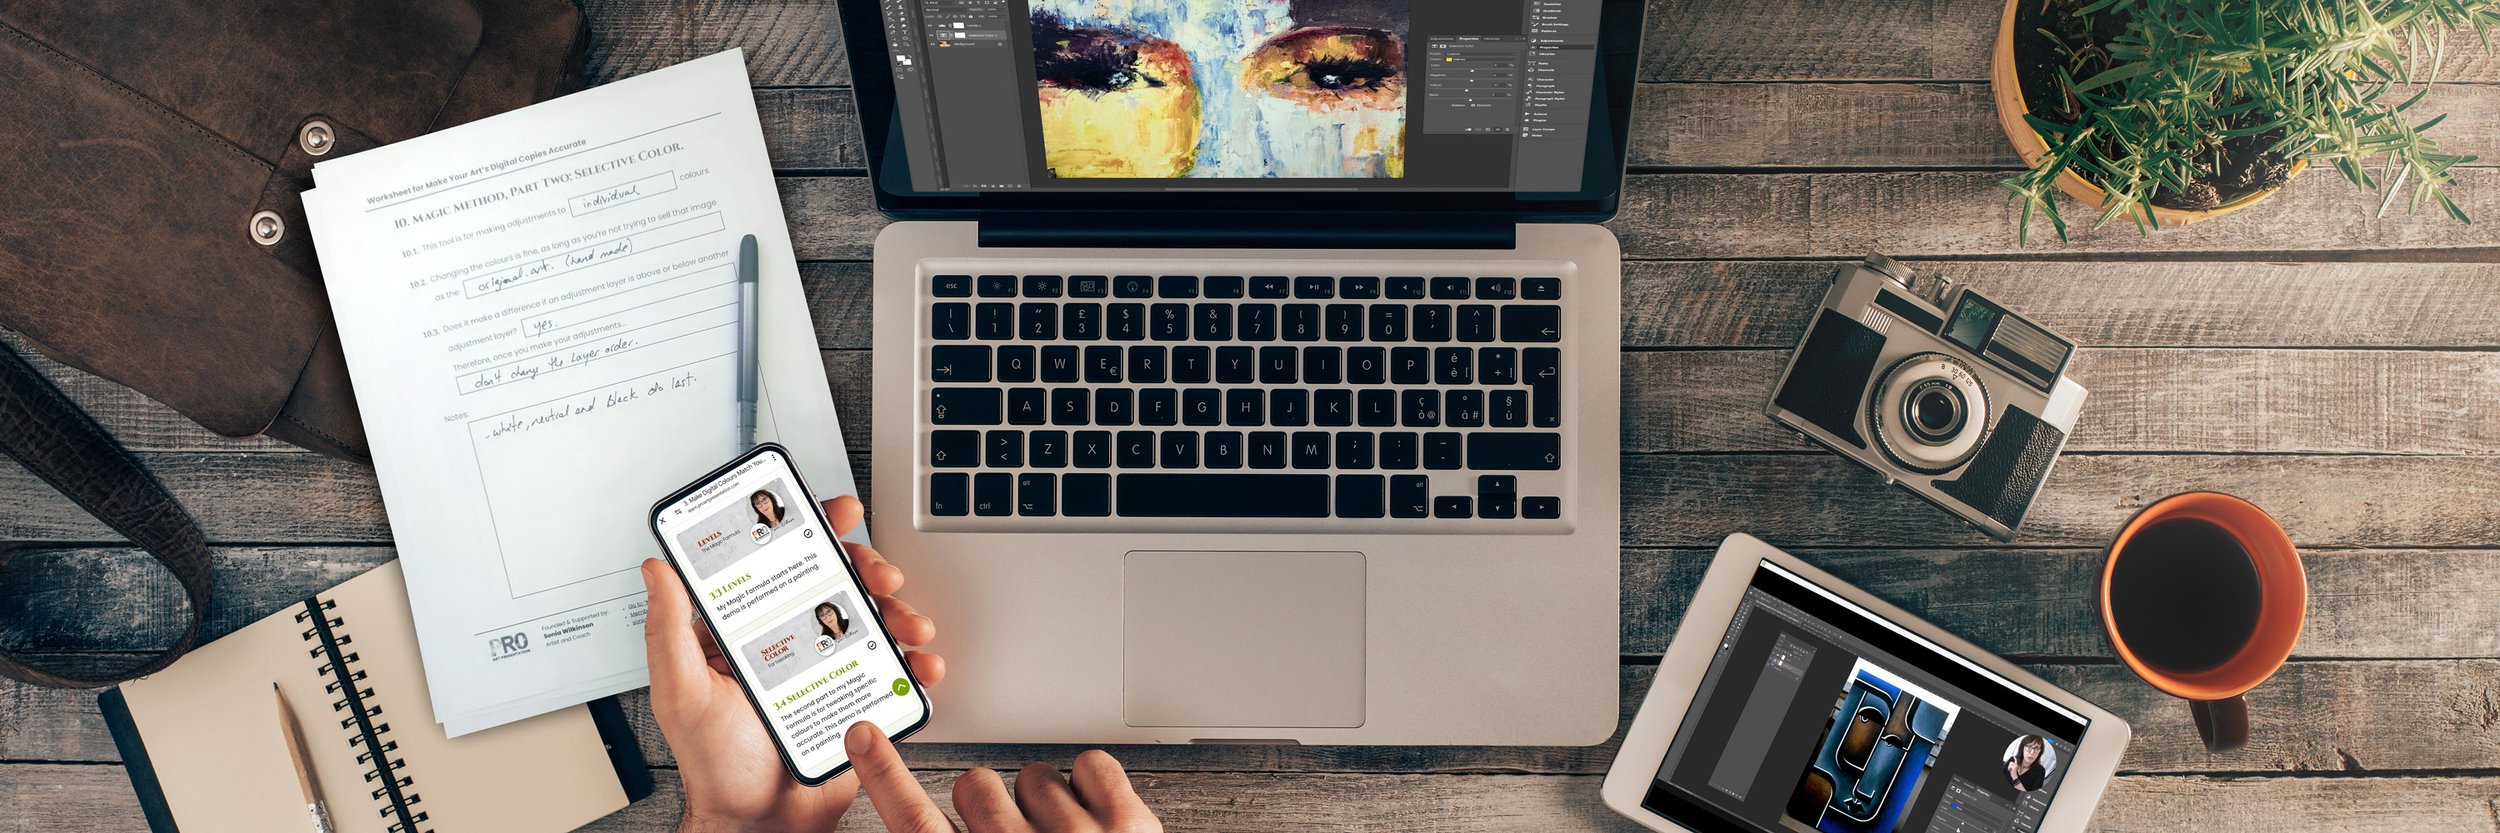
My tried-and-true magic process for colour correcting that I've used for over 30 years on millions of images.
I use Adobe Photoshop during this demo. It’s similar in Affinity Photo, which I will include in the near future. (You’ll get access automatically once it’s available.)
5 video lessons, that get you to the meat immediately so you can get ‘er done.
A workbook you can print or fill out and save on your device.
Unlimited lifetime access to this free training.
Access the content using our app! Free to use.
Ask for clarity or share a thought any time using the comment area or our Artists Hub Community. Be sure to check out my live workshops, too.
BONUS! How to use Hue/Saturation to make a small change or go wild on something new.
Learn to transform the colours of your digital copies so they represent your art authentically. Capture your audience's heart by giving them what they see on a screen. Rav reviews will follow, leading to a boost in your sales and awards!
This is Not Fluff!
This magic method is one I’ve relied on for decades.
Now you can rely on this super simple process, too!
The magic process I share in this video series is extremely simple, quick, and easy to do. It's the method I've relied on for over 30 years on millions of images. And still use it on my fine art.
Why am I giving this for free?
Because it's one of the most important tasks to perform as a fine artist selling their creations.
If the colours are inappropriately dull, your audience won't respond favourably.
If the colours are flat out wrong, not only will your customer be heartbroken, but they may decide to return it or leave a bad review. Not good!
Make your images accurate so that what your audience sees is what they get.

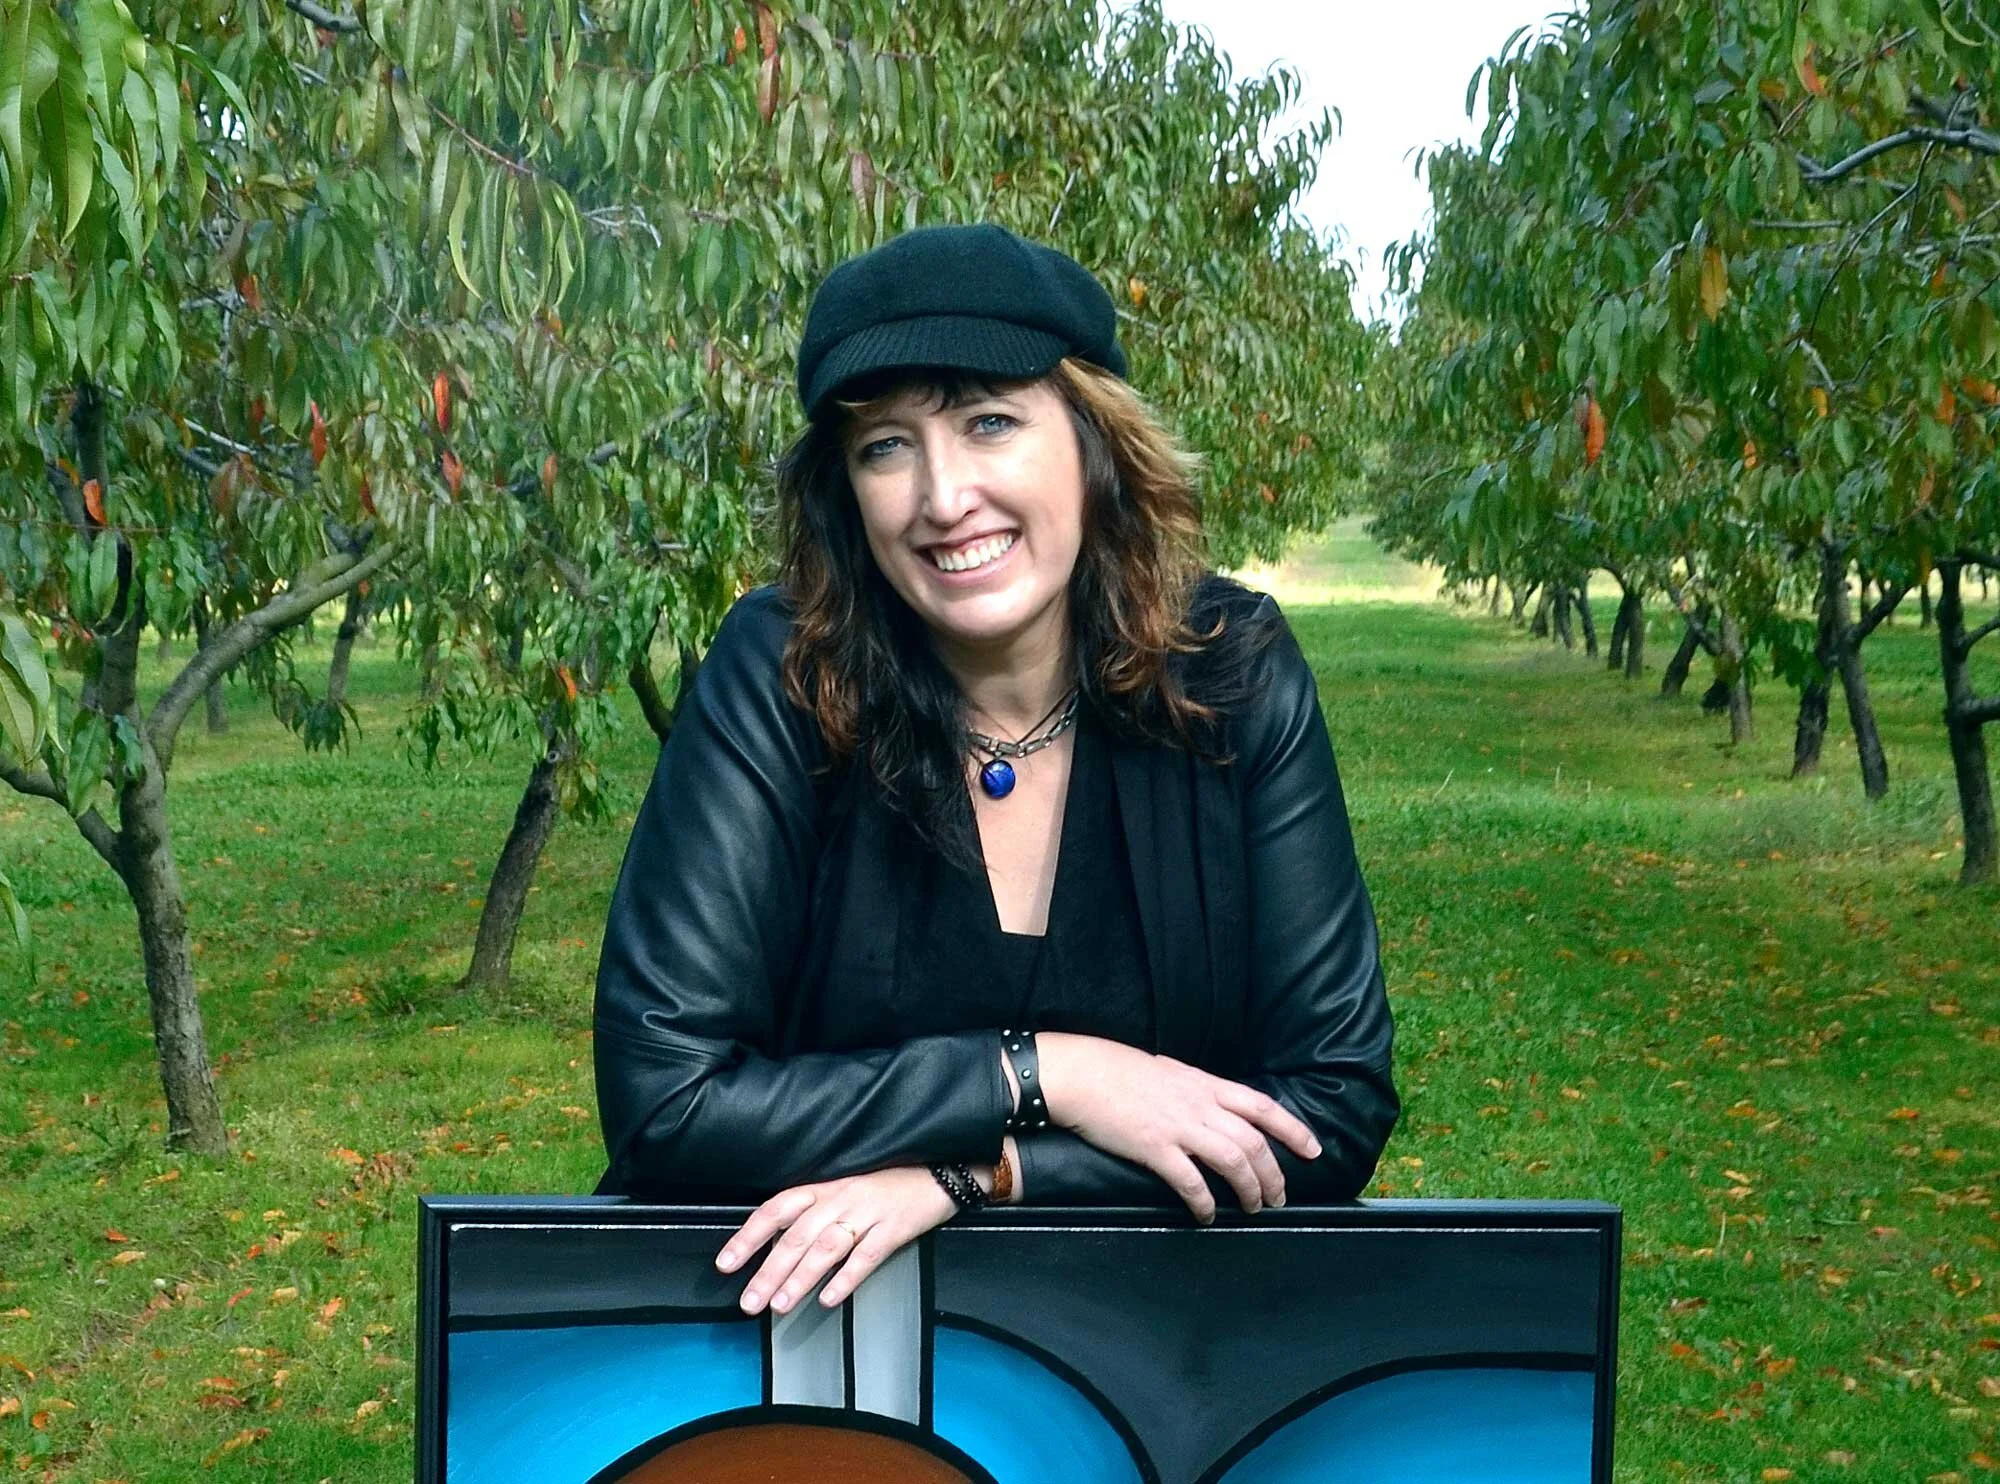
Sonia Wilkinson
Meet your instructor

Artist, coach, and cheerleader for fellow artisans. As I began my own journey into becoming a fine artist, I found it incredibly challenging to obtain a professional-quality digital image of my artwork.
I was shocked at how difficult I found it because I come from over 30 years of working with images as a graphic designer and fine artist.
As I chatted with fellow artists, it became clear I was not alone. Many were crying about how confusing and difficult it was to find the information needed to understand it all.
Some years later…
After learning how to make my own art look touchable on screen…
I’ve breathed (digital) life into a service I hope will help fellow fine artists around the world.
Welcome to Pro Art Presentation. A place where you can find all the resources you need to present your art so well that your audience won’t be able to resist.
If it hasn’t been added yet, let me know and I’ll add it.
Testimonials
-
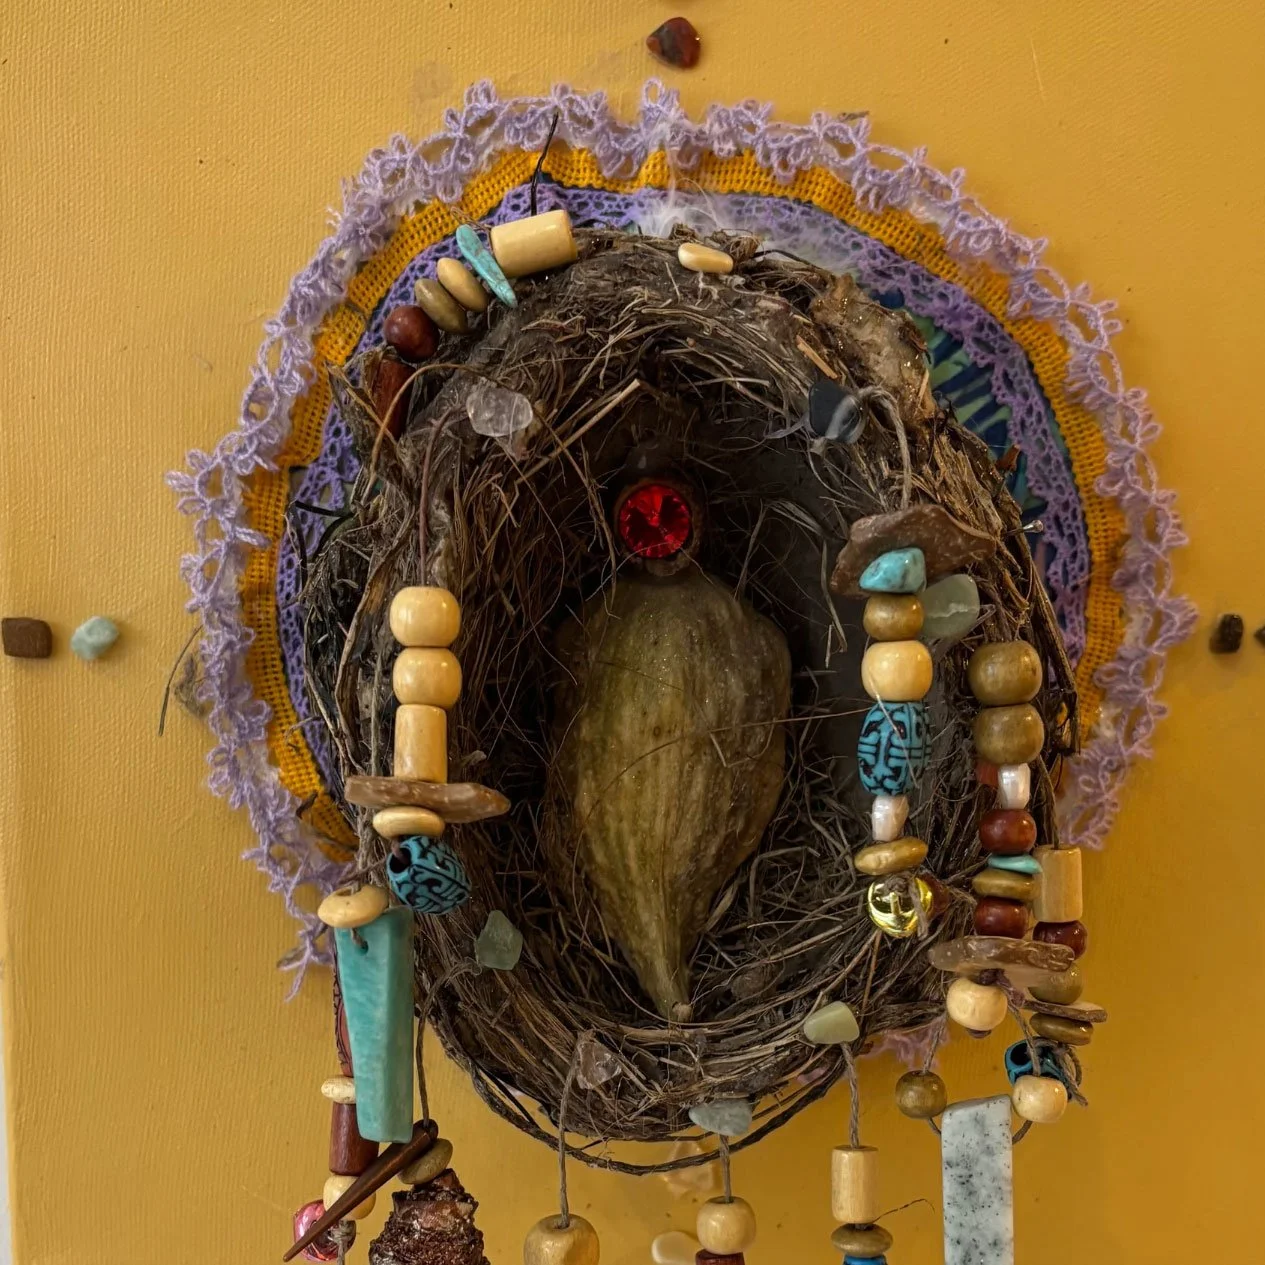
!["Our Lady of the Milkweed Plant" by Francine McGlynn]()
“Thanks so much Sonia! I have never understood what all those numbers meant when I came across them when applying to art shows and had to rely on other people! Now I know what I don’t know!!! Thanks so much for a great workshop!”
-
![My VA Goddess, Amy Kingsford]()
"Working with Sonia is an absolute pleasure. I'm always learning something new and she has a straightforward, yet creative teaching style."
-
![End of Day, by Cara Lawson-Ball]()
“Sonia was there when I desperately needed help with my images. I had a big deadline coming up and the requirements had changed from the previous year. Sonia pulled me out of my panic and I was accepted into the Juried Show! With Sonia’s help I can now do the photo formatting on my own and know that my images will be spot on!”
-
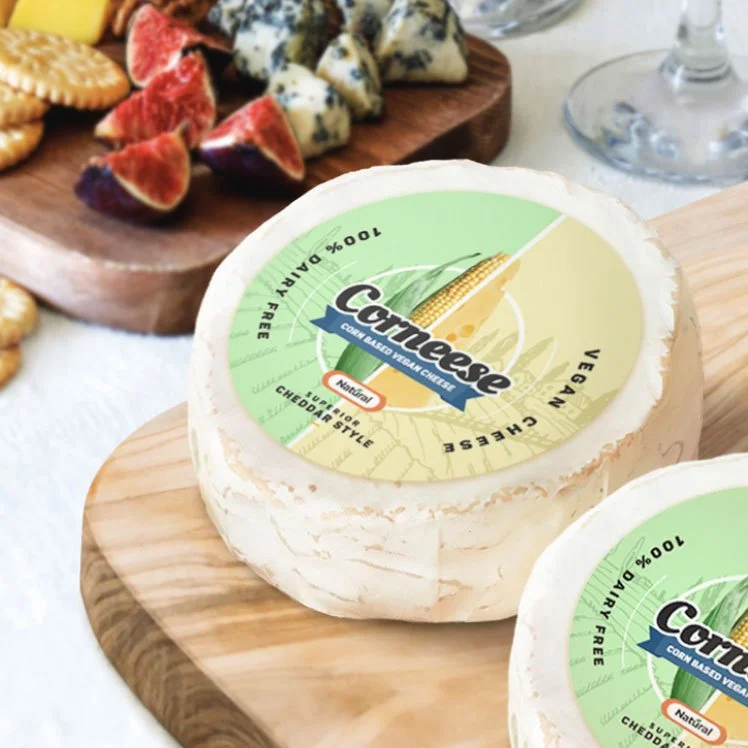
![Cheese Package Design by Kyulim Moon.]()
“I have had several sessions, online, with Sonia since July 2019. I was moving to Canada from Korea and wanted to get ready to apply for graphic design jobs. I'm really happy I met her and started my journey with her!”
-
![Barb Keck - Music In Motion]()
“Sonia has supported me, as a designer, for over 15 years, and we worked together on many projects. She knows Adobe Photoshop, Illustrator and Indesign very well, and walked me through tasks many times. Always has a great attitude and is very communicative! I highly recommend working with her.”
Make Image Colours Accurate
Included in this FREE bundle
Answers to common questions:
-
To watch the video, any digital device will do. As usual, be aware of streaming charges, if any apply.
To do the digital editing:
I highly recommend a desktop computer because they generally have more power to process images.
Laptops are also fine, but be aware that you may run into slowdowns or even crashes when processing images for large format outcomes, such as printed murals. Want to understand digital images better: file formats, image resolution, image size vs file size… You may be interested in my mini-course, “Understand Digital Images.”
If your device isn’t the fastest processor, find an image that is smaller or resize what you have to about 1000 pixels in any direction, ish. And don’t save over an original, high-resolution file!
-
I begin by quickly walking you through the process in less than 10 minutes so that you can dig in right away. Then after that, I explain more for those who are curious.
-
I HIGHLY recommend you use an image of artwork you have on hand. This will allow you to compare the results to the original fine art while it’s sitting next to you.
When setting up your artwork beside you, be aware of the lighting. When not near a window with natural lighting, I use daylight-rated lightbulbs, and pure white shades. You can also use professional photographers lighting.